There’s something undeniably comforting about bite-sized foods, especially when they’re crispy on the outside, juicy on the inside, and easy to make at home. These Air Fryer Chicken Bites are perfect for those moments when you want something satisfying without spending hours in the kitchen. Whether it’s a relaxed weeknight dinner, a casual family gathering, or a game-day spread, this recipe fits right in.
The inspiration for these chicken bites comes from the simple joy of sharing food that everyone reaches for again and again. Growing up, quick chicken dishes were a staple when time was short but appetites were big. This modern air fryer version captures that same comforting flavor while keeping things lighter and more convenient. Once you make these, they’re bound to become a regular favorite in your kitchen.
Why You’ll Love These Air Fryer Chicken Bites
These chicken bites are the definition of easy comfort food. They cook quickly, require minimal oil, and deliver a satisfying crunch that rivals deep-fried versions. The air fryer locks in moisture while creating a golden exterior, making each bite irresistible.
Another reason this recipe stands out is its versatility. You can serve these chicken bites as a main dish with sides, toss them into salads, wrap them in flatbreads, or enjoy them on their own with your favorite dipping sauces. They’re also kid-friendly and great for meal prep, making them a practical choice for busy households.
Ingredients You’ll Need
Using simple, everyday ingredients ensures that this recipe is accessible and easy to recreate anytime. Precise measurements help you achieve consistent results every time.
-
1 lb (450 g) boneless, skinless chicken breast, cut into 1-inch pieces
-
2 tablespoons olive oil
-
1 cup (60 g) breadcrumbs
-
1/2 cup (50 g) grated Parmesan-style cheese
-
1 teaspoon garlic powder
-
1 teaspoon onion powder
-
1 teaspoon paprika
-
1/2 teaspoon salt
-
1/2 teaspoon black pepper
-
2 large eggs
Step-by-Step Instructions: How to Make Perfect Air Fryer Chicken Bites Every Time
Step 1: Preheat the Air Fryer for Even Cooking
Begin by preheating your air fryer to 400°F (200°C) for about 3 minutes. This step is essential and should never be skipped. Preheating ensures that the chicken bites start cooking immediately when placed inside, which helps create a crisp exterior rather than a soggy coating. A properly heated air fryer mimics the effect of placing food into hot oil, allowing the breadcrumbs to set quickly and lock in moisture. Think of this as laying the foundation for perfectly cooked chicken bites with consistent color and texture.
Step 2: Pat the Chicken Dry for Better Coating Adhesion
Once your chicken breast has been cut into evenly sized, 1-inch pieces, use a paper towel to pat them completely dry. Removing excess moisture is a critical step that directly affects how well the coating sticks. If the chicken is wet, the egg mixture and breadcrumbs will slide off instead of clinging to the surface. Dry chicken pieces allow the oil, egg wash, and breadcrumb mixture to adhere properly, which leads to a more even, golden crust after cooking.
Step 3: Whisk the Eggs Until Smooth
Crack 2 large eggs into a medium bowl and whisk them thoroughly until the yolks and whites are fully combined. The egg mixture acts as the binding agent between the chicken and the breadcrumb coating. Make sure the eggs are smooth and slightly frothy, as this consistency helps create an even layer around each piece of chicken. Taking a moment to whisk properly ensures that every bite gets the same coating and cooks uniformly in the air fryer.
Step 4: Prepare the Breadcrumb Coating
In a separate bowl, combine 1 cup (60 g) breadcrumbs, 1/2 cup (50 g) grated Parmesan-style cheese, 1 teaspoon garlic powder, 1 teaspoon onion powder, 1 teaspoon paprika, 1/2 teaspoon salt, and 1/2 teaspoon black pepper. Stir the mixture well so the seasonings are evenly distributed throughout the breadcrumbs. This step ensures that every bite is packed with flavor. Mixing thoroughly prevents pockets of bland coating and creates a balanced seasoning profile across all the chicken pieces.
Step 5: Toss the Chicken with Olive Oil
Place the dried chicken pieces into a large bowl and drizzle them with 2 tablespoons olive oil. Toss gently until every piece is evenly coated. The oil serves multiple purposes: it helps the coating stick, promotes browning, and prevents the chicken from drying out during cooking. Make sure the oil is evenly distributed without pooling at the bottom of the bowl. Lightly coated chicken will crisp beautifully without becoming greasy.
Step 6: Coat the Chicken Pieces Thoroughly
Working one piece at a time, dip the oiled chicken into the egg mixture, allowing any excess to drip off. Then roll the chicken in the breadcrumb mixture, pressing gently so the coating adheres well. This gentle pressing is key to ensuring the breadcrumbs stay in place during cooking. Set each coated piece aside on a plate while you finish the rest. Taking your time during this step results in a thicker, more satisfying crust that doesn’t fall off when cooked or served.
Step 7: Arrange Chicken in a Single Layer
Once all the chicken pieces are coated, carefully place them into the air fryer basket in a single layer. Be sure to leave space between each piece so hot air can circulate freely. Overcrowding the basket will trap steam and prevent proper browning, resulting in soft or unevenly cooked chicken. If necessary, cook the chicken in batches rather than trying to fit everything at once. This step is crucial for achieving that irresistible crispy texture.
Step 8: Cook and Shake for Even Crispiness
Cook the chicken bites at 400°F (200°C) for 8 to 10 minutes. About halfway through cooking, remove the basket and give it a gentle shake to flip and reposition the chicken pieces. This movement ensures even exposure to heat on all sides, preventing overcooked spots and pale areas. Continue cooking until the coating is golden brown and the chicken is fully cooked through. The internal temperature should reach 165°F (74°C) for safe and juicy results.
Step 9: Rest Before Serving
Once the chicken bites are cooked, remove them from the air fryer and let them rest for about 2 minutes before serving. This brief resting time allows the juices inside the chicken to redistribute, keeping each bite tender and flavorful. Skipping this step can cause the juices to escape when bitten into, leading to drier chicken. After resting, the bites are ready to serve with your favorite sides or dipping sauces.

Tips for Perfectly Crispy Chicken Bites
Achieving that addictive crunch is all about technique. First, avoid overcrowding the air fryer basket. Cooking in batches allows hot air to circulate properly around each piece. Second, patting the chicken dry before seasoning is crucial for proper browning.
If you want extra crispiness, lightly spray the coated chicken with a small amount of oil before cooking. Also, flipping or shaking the basket halfway through ensures even cooking on all sides. These small steps make a big difference in texture and flavor.
Serving Suggestions
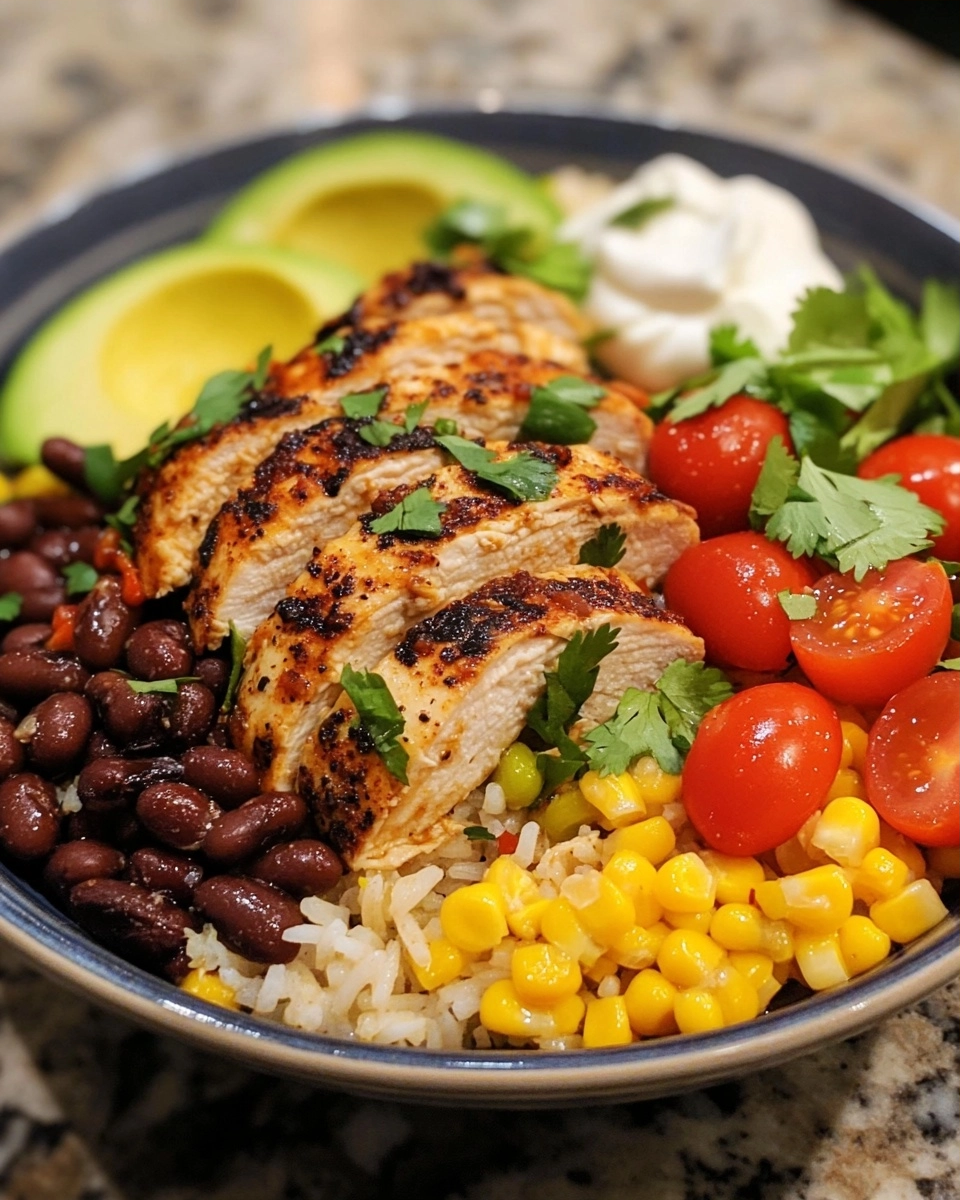
These Air Fryer Chicken Bites pair beautifully with a variety of sides. Serve them with roasted vegetables, a fresh green salad, or seasoned potatoes for a complete meal. They’re also excellent with simple dipping sauces like garlic yogurt sauce, honey mustard, or a tangy tomato-based dip.
For a lighter option, add them to a bowl with mixed greens, cherry tomatoes, and a drizzle of lemon dressing. You can even tuck them into wraps with crisp lettuce and sliced cucumbers for a quick lunch.
Storage and Reheating
Leftover chicken bites store well in an airtight container in the refrigerator for up to 3 days. To reheat, place them back in the air fryer at 375°F (190°C) for 3 to 4 minutes until warmed through and crispy again. Avoid microwaving if possible, as it can soften the coating.
Frequently Asked Questions
1. Can I use chicken thighs instead of chicken breast?
Yes, boneless, skinless chicken thighs work very well in this recipe. They tend to be slightly juicier than chicken breast due to their higher fat content. When using thighs, cut them into similar-sized pieces, about 1 inch each, to ensure even cooking. You may need to add an extra minute or two of cooking time, but always check that the internal temperature reaches 165°F (74°C) before serving.
2. How do I keep the chicken bites from sticking to the air fryer basket?
To prevent sticking, make sure your air fryer basket is clean and lightly greased. A small amount of oil spray goes a long way. Also, coating the chicken evenly with oil before breading helps create a barrier between the food and the basket. Avoid overcrowding, as tightly packed pieces are more likely to stick together and to the basket.
3. Can I make these chicken bites ahead of time?
Absolutely. You can prepare and bread the chicken pieces a few hours in advance and store them covered in the refrigerator. When ready to cook, simply place them directly into the preheated air fryer. This makes the recipe especially convenient for entertaining or busy weeknights when you want to save time.
4. Are these Air Fryer Chicken Bites suitable for meal prep?
Yes, they are excellent for meal prep. Cook a full batch and divide them into portions for lunches or dinners throughout the week. Store them in airtight containers in the refrigerator. When reheated in the air fryer, they retain much of their crispiness, making them a reliable and satisfying make-ahead option.
Final Thoughts
These Air Fryer Chicken Bites prove that simple ingredients and straightforward methods can deliver incredibly satisfying results. They strike the perfect balance between convenience and flavor, making them ideal for both everyday meals and special occasions. The air fryer not only speeds up the cooking process but also creates a texture that feels indulgent without being heavy.
What truly makes this recipe special is its adaptability. You can adjust the seasonings to suit your taste, pair the chicken with different sides, or serve it in creative ways throughout the week. From family dinners to casual get-togethers, these chicken bites fit effortlessly into any menu.
Once you try them, it’s easy to see why they’re so addictive. The crisp coating, tender interior, and endless serving possibilities make this dish a standout. Keep this recipe handy, because it’s one you’ll come back to again and again when you need something quick, delicious, and universally loved.
Print
These Air Fryer Chicken Bites Are Seriously Addictive
- Total Time: 25 minutes
- Yield: 4 servings 1x
Description
Crispy, juicy, and easy to make, these Air Fryer Chicken Bites are perfect for quick meals, snacks, or sharing with family and friends.
Ingredients
-
1 lb (450 g) boneless, skinless chicken breast, cut into 1-inch pieces
-
2 tablespoons olive oil
-
1 cup (60 g) breadcrumbs
-
1/2 cup (50 g) grated Parmesan-style cheese
-
1 teaspoon garlic powder
-
1 teaspoon onion powder
-
1 teaspoon paprika
-
1/2 teaspoon salt
-
1/2 teaspoon black pepper
-
2 large eggs
Instructions
-
Preheat the air fryer to 400°F (200°C).
-
Pat the chicken pieces dry and toss with olive oil.
-
Whisk the eggs in one bowl.
-
Mix breadcrumbs, cheese, and seasonings in another bowl.
-
Dip chicken into eggs, then coat with breadcrumb mixture.
-
Place in a single layer in the air fryer basket.
-
Cook for 8 to 10 minutes, shaking halfway, until golden and cooked through.
Notes
For extra crispiness, lightly spray the chicken with oil before cooking. Avoid overcrowding the basket for best results.
- Prep Time: 15 minutes
- Cook Time: 10 minutes